  a C# learning space
|
Buy me a cup of coffee?
|
Menus & Toolbars
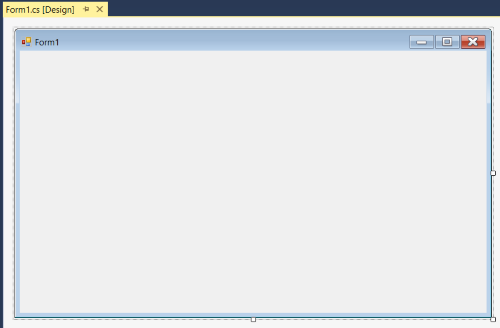
It doesn't get any plainer that this. When you first create a project in Visual Studio, you get a blank form to cast your imagination on. To begin with
I will create the skeleton of the menu, that is without any functionality behind it. And then move on to the toolbar.
First let's take a look at the Toolbox and choose a MenuStrip item. On the left of the screen there is a Toolbox tab. Opening that tab shows several
choices. Choose the Menus & Toolbars and you will find the MenuStrip within. Dragging a MenuStrip to the form and dropping it in the upper left corner
should produce the screen you see below. I overlayed the MenuStrip1 that shows at the bottom of the screen so you can see what happens after dropping.
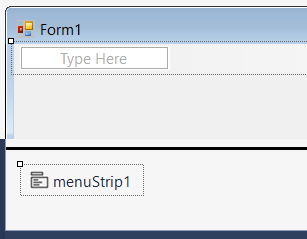
To add items to the Menu, just click where it says Type Here and start typing.

The first item is "File". Under File you will want the items &New, &Open, &Save, Save &As, &Print, Print Preview, and E&xit. The ampersand characters will
an underline under the next character. This enables the end user to use the keyboard to access the menu just like you can in most Windows Forms applications.
I also like to add the capability of the user to use other keyboard shortcuts, like Ctrl+N (activates the New menu item) to start a new puzzle. To add a
horizontal line, right click in the Type Here box and choose Insert > Separator. There is no functionality behind the separataor. It just makes your
menu look cleaner and more organized.
The File menu should look like this.

You can view your handy work anytime by clicking the Start button in the toolbar at the top of Visual Studio.
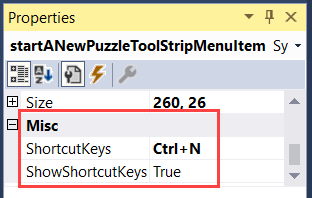
To the right of the New menu item, I have Start a &New Puzzle and &Design a Puzzle.
To show the shortcuts on the menu, click on the menu item and look in the Properties window under Misc.
To the right of the File menus item, type "Edit". In the Edit menu I have &Undo, &Redu, &Copy, and &Paste. Rinse and repeat for the remaining items.
Below is the full menu. You can add as much as you want or take away. It's up to you as the programmer. If you double click on any one of the menu items,
Visual Studio will open up the code editor and creates the shell for the method for that item.
-
File
- New
- Start a New Puzzle
- Design a Puzzle
- Open
- Save
- Save As
- Exit
-
Edit
-
Tools
- Restart Game
- Color Options
- Show Candidates
- Enable Sound
-
Help
- Contents
- Index
- Search
- About
Next let's add a toolbar. That's right underneath the Menu that was jsut created and it basically adds icons that will function just like the menu
items for New, Open, Save, Print, Print Preview, Copy, Paste, and Help. So go back to your Toolbox and Menus & Toolbars and drag and drop a ToolStrip
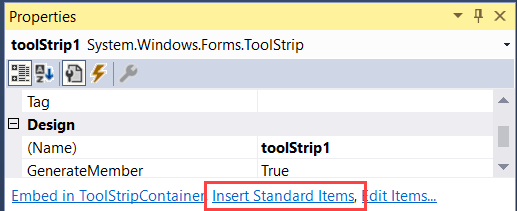
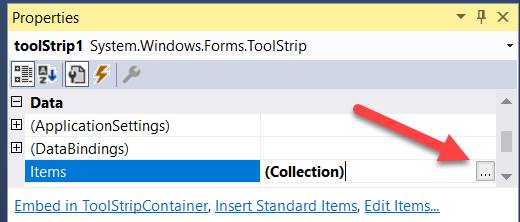
to your form. It will add an empty Toolbar that you will need to fill. Here's a shortcut. With the toolbar highlighted on the form, take a look at
its properties and down at the bottom of the screen there is a link to Insert Standard Items. This will add most of the icons we want to use. The Cut
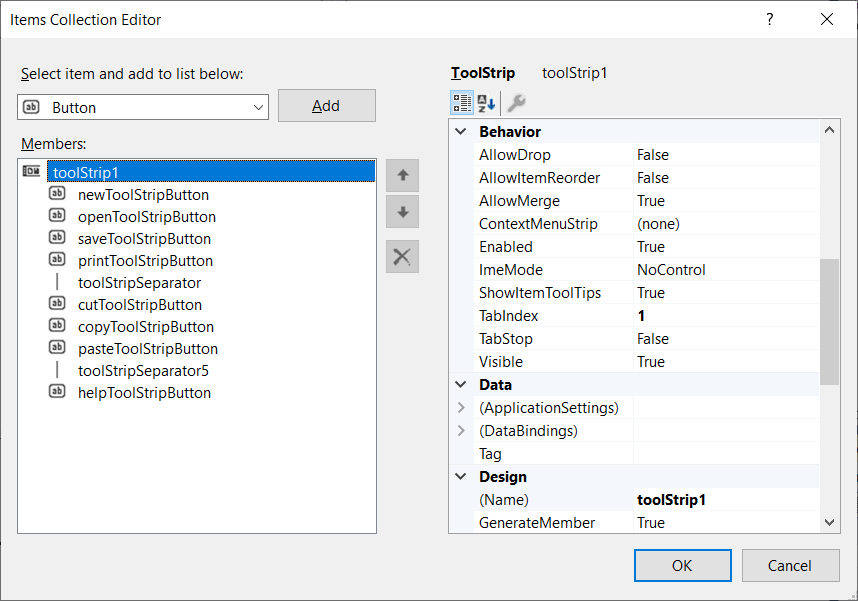
icon (scissors) is not really useful to us. Take a look in the Properties for Items and click on the Elipsis next to where it says (Collection).
This will bring up the Items Collection Editor where you can add buttons and delete buttons, add separators, set the order of buttons, etc. Again,
once the toolbar is in place, double clicking on the icon in the toolbar will create a shell method for the click event of the icon.
Before we can get into the actual programming of the menu and toolbar items, we need some more ground work done. You will want to visit the Painting,
Navigating the Board, and Drawing Numbers sections and then come back to programming the start of a new game, opening files, copy & paste and so on.
Painting the Board on the Form
Navigating the Board through mouse clicks and keyboard
Drawing numbers on the Board